

HEDD CTRL is a dedicated software that unifies the MK2 and BASS series of monitors and subwoofers into a transparent, reliable, and fully controllable monitoring ecosystem.
This page provides two dedicated guides for getting started with CTRL, tailored to real‑world use cases:
- a streamlined home‑studio stereo setup
- a flexible 2.1 / 2.2 configuration with integrated subwoofer control.
Both guides share the same core philosophy: fast setup, intuitive control, and reliable sound‑shaping for any creative workflow.
And for those who are already setup we also include some advanced guidelines for how to use HEDD innovations such as the Lineariser and Closed and Ported together with CTRL.
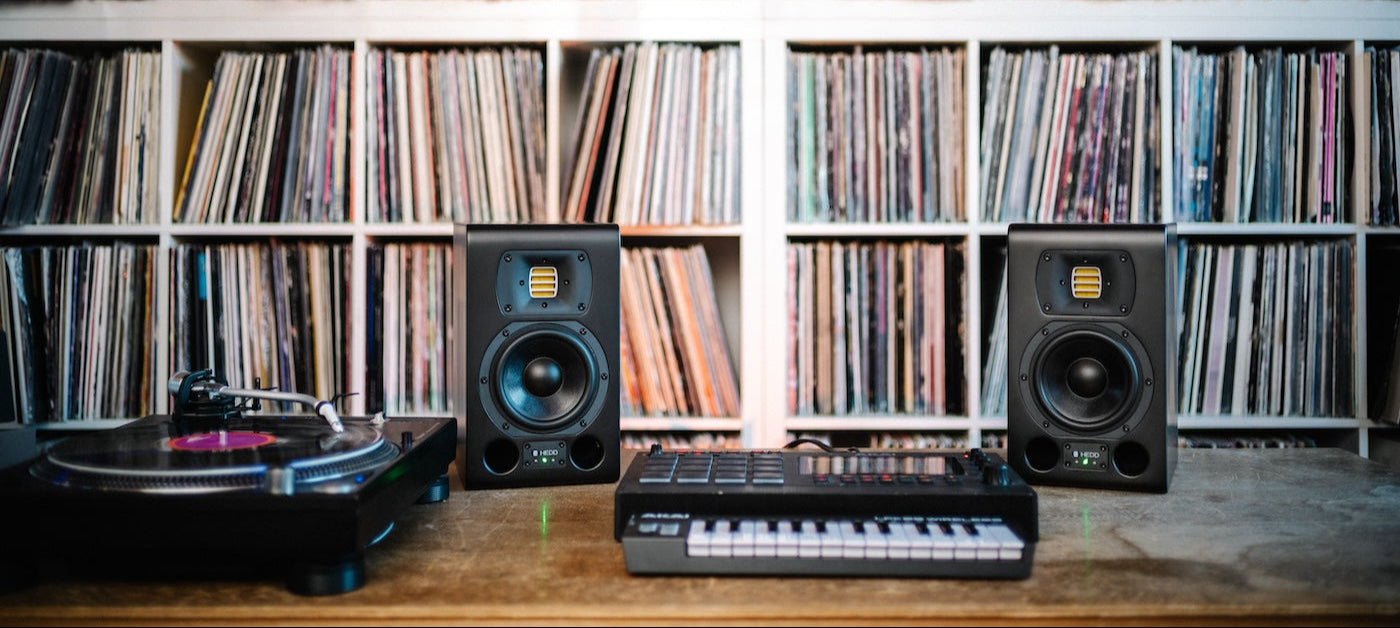

Getting Started: Home Studio, Stereo Setup
Overview
This guide is designed for users working in a classic stereo monitoring environment. It is ideal for producers, musicians, content creators, and anyone who wants a clean, accurate, and easily adjustable listening setup.
System Requirements
- MacOS or Windows
- Ethernet connection (direct or via USB‑C/Thunderbolt adapter)
- 2 × HEDD MK2 monitors
- Standard network switch (unmanaged recommended)
- HEDD CTRL software installed
Basic Setup Steps
Identifying Your Speakers: Once CTRL is connected, selecting any speaker in the Device Panel will make it blink orange, allowing you to quickly locate the unit in your room.
- Connect each speaker to your network (Ethernet → Switch → Computer).
- Power on the speakers (green LED = active).
- Launch HEDD CTRL and press Connect.
- If an exclamation mark appears, update firmware via Update → Update Connected Speakers.
- Create a Stereo Group (Left + Right).
- Select your preferred input (Analog or AES).
- Apply optional room‑related EQ adjustments using the PEQ.
- Save your personalized preset directly to the speakers.
Finalizing Your Settings: Once you are satisfied with your configuration, you can upload the preset permanently to your speakers. CTRL is no longer required afterward, as all parameters are stored within the internal DSP.
Important: Before saving, ensure the Lineariser knob is set to “*” (star). This instructs the speaker to load the User Preset. Without this setp the rear‑panel controls would take priority and override the settings made in CTRL whenever CTRL is not active or the speaker is disconnected from the network.
Easy Room Optimization
PEQ Usage Guidelines
- It is almost always advisable to cut rather than boost frequencies with the PEQ.
- Avoid applying EQ above 1 kHz, as these frequencies are highly dependent on your exact listening position and can lead to inconsistent results.
General Room Optimization Tips
- Use the PEQ to manage low‑end build‑up, desk reflections, or harsh resonances.
- Most home studio environments only require minimal EQ intervention.
- Create multiple presets for different tasks (e.g., mixing, vocals, gaming, etc...).
Quick Recall of Personalized Profiles
Switching creative contexts is effortless with customized profiles:
- Mixing Mode
- Production/Writing Mode
- Gaming/Listening Mode
All presets are stored inside the speaker DSP, ensuring consistent performance even without an active CTRL connection.


2.1 / 2.2 Configurations
Getting Started: Stereo Setup with Subwoofer
Overview
This guide is ideal for modern creative spaces such as lounges, writing rooms, hybrid studio/living areas, and instrument‑focused setups (e.g., a guitar corner). It enables precise control over subwoofer integration, alignment, and bass management.
System Requirements
- MacOS or Windows
- Ethernet connection
- 2 × or 4 × HEDD MK2 monitors
- 1 × or 2 × HEDD BASS 08 or 12 subwoofers
- Standard network switch (unmanaged or lightly managed)
- HEDD CTRL software installed
Setup Steps
Identifying Your Speakers: Selecting any speaker or subwoofer in CTRL triggers an orange blink, helping you confirm physical placement.
- Connect all speakers and subwoofers to the network.
- Power on each device.
- Launch HEDD CTRL and press Connect.
- Install firmware updates if prompted.
- Create your desired configuration: 2.1 = Left + Right + Sub; 2.2 = Left + Right + Sub Left + Sub Right
- CTRL automatically enables the Sub Controller.
- Adjust the phase‑aligned crossover and group timing.
- Calibrate subwoofer level, phase, and delay.
- Save your configuration as a preset.
Finalizing Your Settings: After alignment and calibration, you can upload the preset permanently to the speakers. CTRL is no longer required afterward, as all parameters remain stored in the DSP.
Important: Before saving, make sure the Lineariser knob is set to “*” (star). This ensures the speaker loads the User Preset, preventing the rear‑panel controls from overriding the settings made in CTRL when the software is not active.
Integrated Subwoofer Control
With HEDD CTRL you are able to adjust and fine tune your subwoofer(s) in 2.1 and 2.2 setups including crossover alignment, phase optimization, accurate level matching, delay and timing calibration giving you precise low-frequency integration.
Recommended Preset Profiles
Examples of useful presets:
- Creative Session – fuller low‑end response.
- Analytical Mode – tighter bass for editing and referencing.
- Low‑Volume Mode – reduced sub activity, ideal for fatigue‑free work or late night sessions.
HEDD CTRL Gives You Flexibility For Every Workflow
-

Home Studio (Stereo)
Easy room optimization and quick recall of personalized session profiles.
-

2.1 / 2.2 Configurations
Integrated subwoofer control with phase-aligned crossover and satellite grouping for accurate analysis.
-

Immersive Systems (Atmos / XR)
Scalable management for up to 250 speakers, ensuring precise delay and EQ alignment.


Advanced Speaker Operation: Lineariser, CoP, LFE
Lineariser Usage: Important Notes
The Lineariser is one of the most powerful tools in our MK2 monitor series. CTRL allows instant switching between Lineariser ON and OFF, giving you full control over the latency/accuracy trade-off that it provides.
When NOT to Use the Lineariser
Because the Lineariser introduces latency to achieve perfect phase alignment, it is not suitable for real-time or performance-critical tasks, such as:
- Live recordings with musicians.
- Monitoring during performance.
- Any situation requiring immediate auditory feedback.
Musicians may otherwise experience a noticeable delay between playback and performance.
When to ALWAYS Use the Lineariser
Enable the Lineariser for all listening‑critical tasks:
- Mixing
- Mastering
- Analytical referencing
- Detailed editing
Closed & Ported Operation
While CTRL unlocks extensive digital control, one important decision still requires a physical switch on the speaker: choosing between closed and ported mode.
- Ported mode delivers maximum low‑end extension and energy.
- Closed mode provides tighter transient response, more controlled bass, and easier placement in smaller rooms.
This is a key feature of our MK2 monitors giving you the ability to tune the low‑frequency behaviour mechanically to match different rooms, workflows, and monitoring goals.
LF Range Setting (Low‑Frequency Extension)
Once your setup is complete, we strongly encourage you to experiment with the LF Range parameter, another key feature of our MK2 series designed to give you powerful low‑frequency shaping without additional hardware.
This control allows you to:
- Extend low‑frequency response for a sub‑like experience without using a subwoofer.
- Reduce the low‑cut frequency for richer, deeper monitoring.
- Evaluate different LF behaviours directly from your listening position via CTRL.
Important: Lower LF Range settings reduce maximum SPL, because the speaker prioritizes extension over loudness.


Shop MK2
-


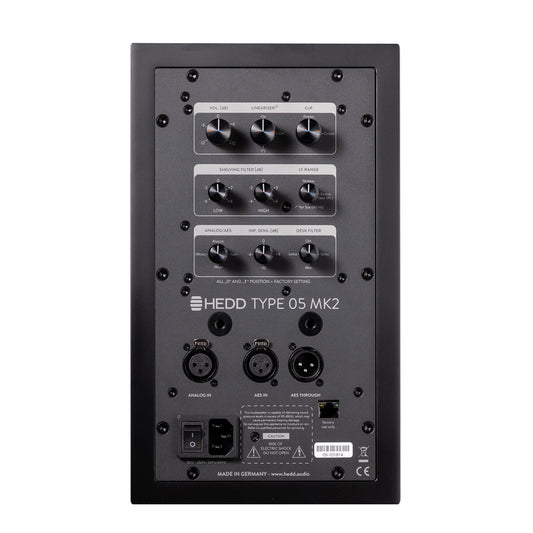

TYPE 05 MK2
Huge sound, small footprint.Regular price From €799€799Sale priceRegular price From €799Unit price per -

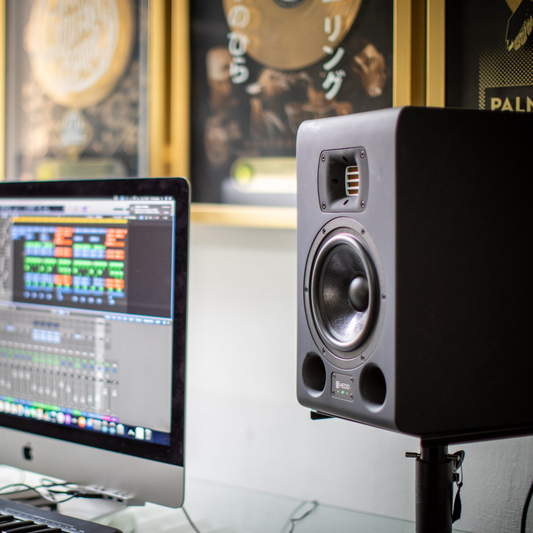
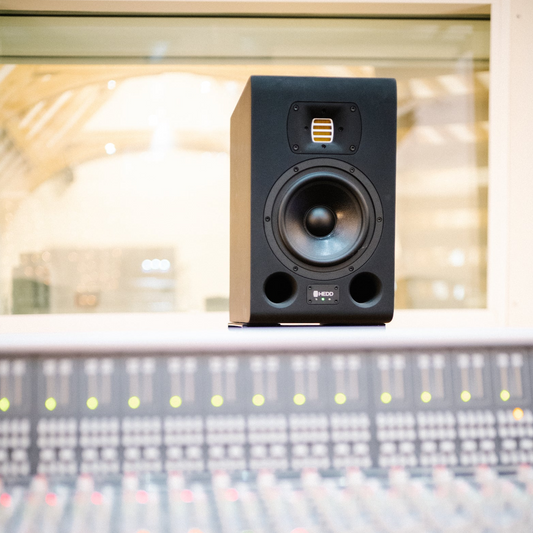
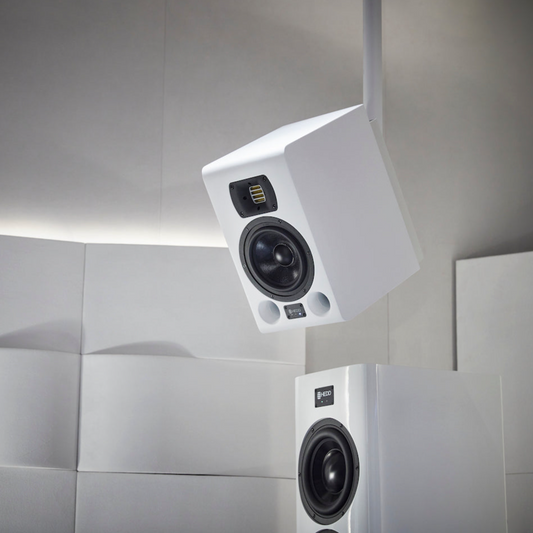


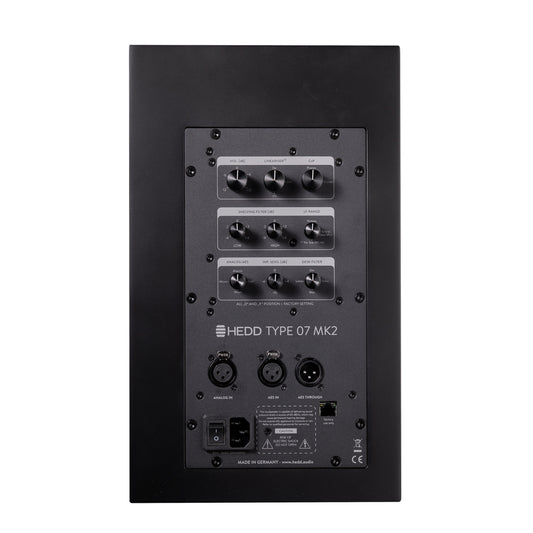
TYPE 07 MK2
Clear and honest 2-way monitoring.Regular price From €999 -


TYPE 20 MK2
Versatile 3-way monitoring with no compromise.Regular price From €2,199 -


TYPE 30 MK2
Powerful and stylish 3-way monitoring.Regular price From €2,999 -


BASS 08
Ultra compact DSP subwoofer.Regular price €1,599 -


BASS 12
Earth-shaking bass performance. Fully controlled.Regular price €3,299


Reasons to buy direct from hedd.audio
-

Every product is built by hand in Berlin
-

5 year warranty with all products
-

Free shipping with all orders
-

30 day returns satisfaction guarantee


